Pages

Tuesday, December 7, 2010

Craft Kits and Christmas Table

A couple of weeks ago my mom sent me an early Christmas package and lo and behold there were Martha Stewart craft kits in there! I've been having such fun scouring TJ Maxx and Marshalls for Martha craft products, which for some reason have been quite abundant in those two retailers. My mom has been on the lookout for me too and this is the one she sent.


This kit makes 20 circular Christmas ornnaments in various sizes, it includes such cute patterened papers.


The contents: pre-cut paper disks, a little glue bottle, and gold metallic thread. Of course I am going to replace the thread with my baker's twine. The best thing about finding these kits at TJ Maxx and Marshalls is how inexpensive they are, I've seen kits at Michael's for three times the price!


Assembling the ornaments.


I decided to put some of the ornaments on top of my milk glass vases on the table, but D. and I keep knocking them off when we hit the table legs.


I caved and finally bought this milk maid butter dish from Anthropologie. It's a good thing that I waited so long to buy it, I went into the store and was pleasantly surprised to find that it was half off! Good things do come to those who wait...


The current Christmas table display.

Monday, December 6, 2010

Christmas Carol Garlands

The baker's twine sure is coming in handy for all of my crafty endeavors. Last year I saw this photo and wanted to make some garlands of my own.


I put together a little DIY for all of you who would like to make some festive Christmas carol garlands.


Supplies needed: red cardstock, scissors, tape, baker's twine (or any thin string), and a paper cutter.


Cut cardstock in half, each piece can make one letter.


Cut letters out of cardstock, I free handed all of mine; and it really is easier than you think.


Tape the letters to the string.


The finished product, I love how it turned out, it makes the apartment so festive! Tape garland to the ceiling, it is pretty light weight so the scotch tape is strong enough to keep the garland from falling.


In the bedroom, this is such a quick project and adds so much to the overall look of a room.

Saturday, December 4, 2010

Sneak Peek

A peek into Monday's DIY post, I give you my front door...


Let's just say I've gone a little crazy with cutting out red letters and using my baker's twine.

Friday, December 3, 2010

Cuppity Cakes

Christmas crafting is in full swing around these parts and I am delighted to show you the my latest confection.


A no calorie coconut cupcake!

Thursday, December 2, 2010

What's Cookin'?


Today's post should be "what's bakin'?" oh well, mere technicality. I saw a recipe in Martha Stewart Living (of course) for popovers and I decided to try my hand at making them. Popovers are one of those recipes that intimidated me but I found out they are really simple to make. The recipe is so easy, but it does require that you have a popover pan. I had a merchandise card from Williams-Sonoma left over from my wedding plus 20% off so I stopped in my local store and picked up one of the funny looking pans. You can also find it on their website


They turned out picture perfect, I was pleasantly surprised.


Something about having these for breakfast was Christmas-y, always a bonus. I will certainly be making them again and again, so delicious with apricot preserves.

Popovers

2 1/2 C. whole milk (I used skim)
2 1/2 C. flour
1 t. coarse salt
6 large eggs, lightly whisked

Heat oven to 425 degrees. whisk together milk, flour, and salt. Whisk in eggs. (Mixture will be slightly lumpy) Heat two 6-cup popover pans in oven for 5 minutes, then quickly brush cups generously with butter. Fill each cup a little more than halfway with batter. Bake for 20 minutes. Reduce oven temperature to 350 degrees. Bake until golden brown, about 25 minutes. Let stand for 5 minutes. Turn our popovers, and serve warm.

Note: If not serving immediately, poke a small hole in each to release steam. Reheat before serving.

Makes 1 dozen.

Baker's Twine

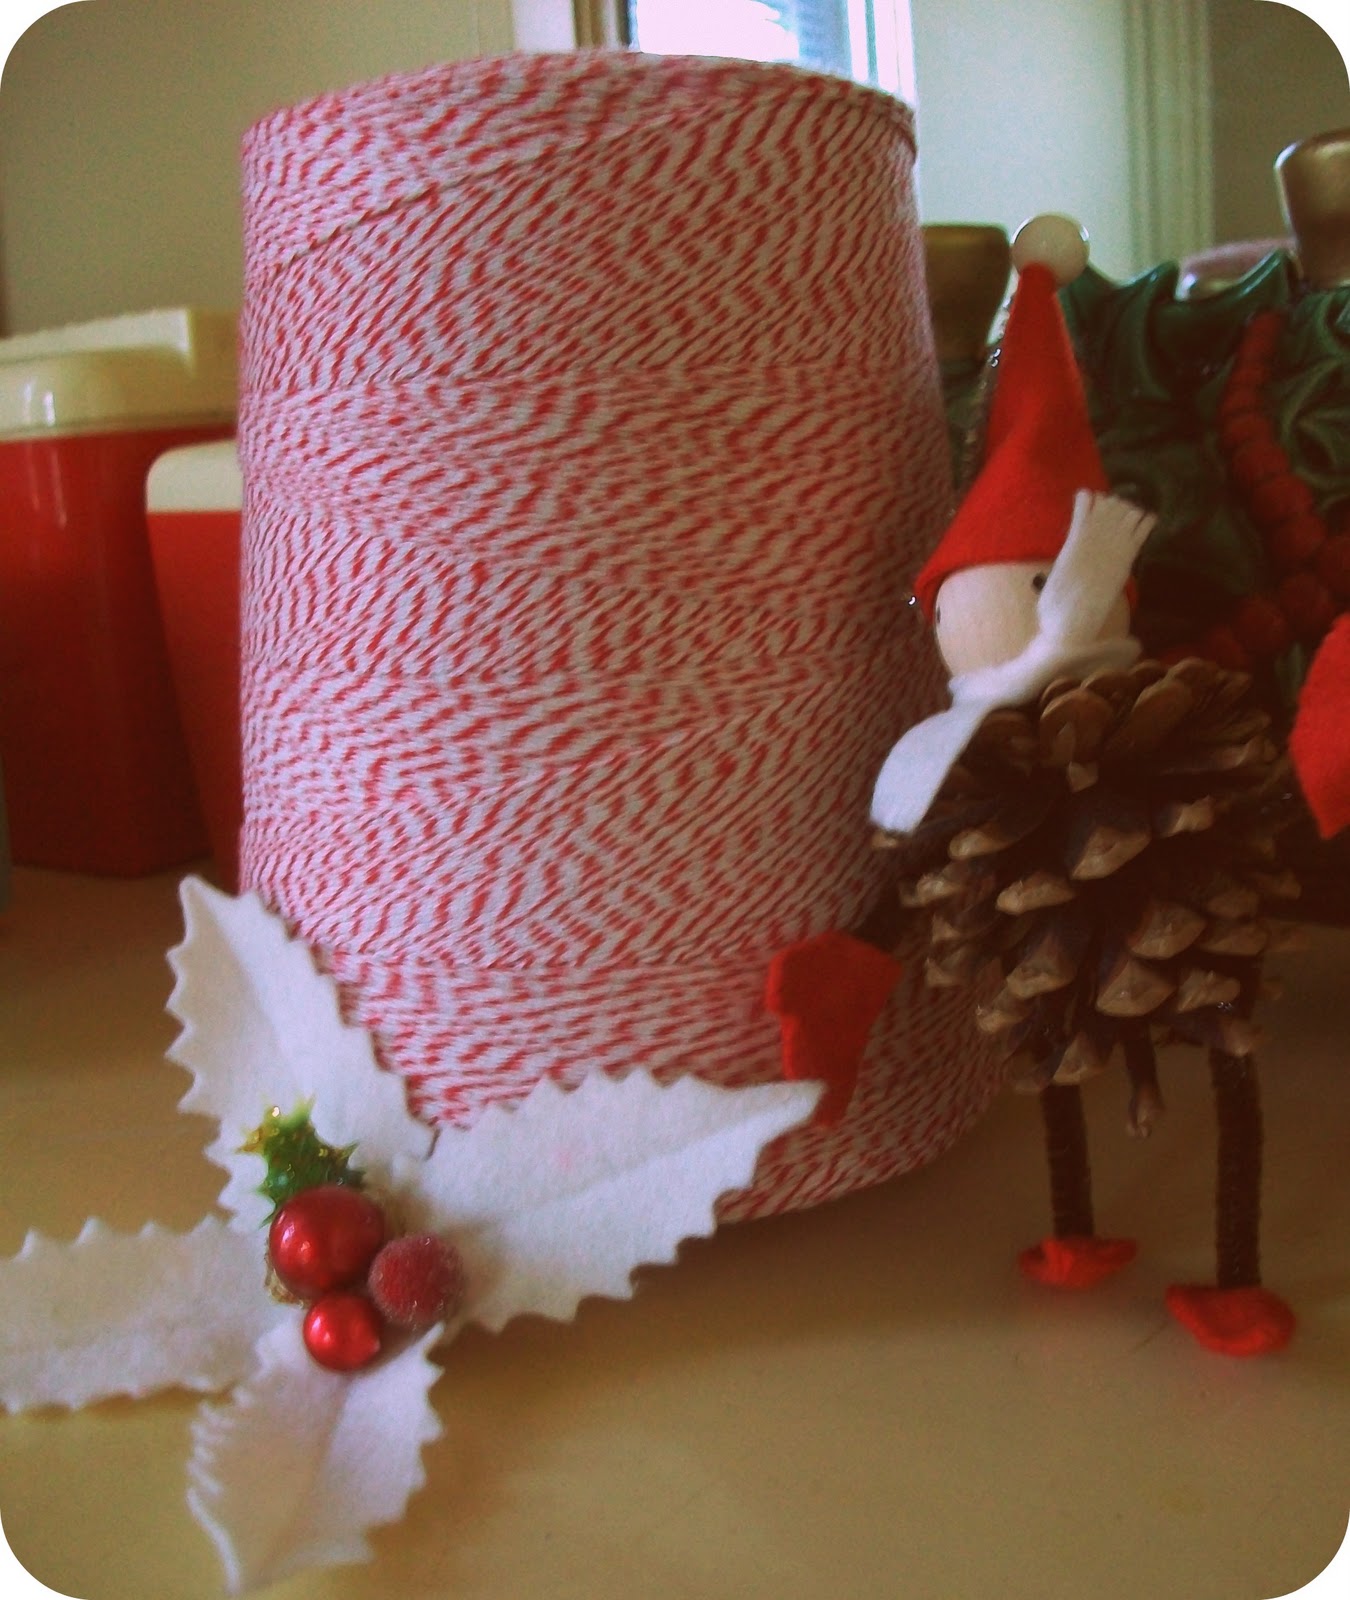
Oh, I am so excited! As you might have gathered from my blog, I've been wanting a spool of baker's twine (10,080 feet of it to be exact) for quite some time now. I've been eyeballing it on Amazon thinking of the endless possibilities of that magical string. Well, yesterday dearest D. surprised me with an advent gift. I have never heard of an advent gift before, but far be it from me to look an advent gift in the mouth!


As soon as I opened the box I went right to work on Christmas crafts, which I will be showing on the blog over the next several days. Just in case you too would like some baker's twine, here is where you can find it.

Thursday, November 11, 2010

Iced Tea

Yesterday was so deceptively summer-like, I decided I need to make some iced tea and fast, before the late afternoon chill set in. The only problem was that I didn't have any ice cubes made and how can you have iced tea without ice cubes? I remedied the situation and 3 short hours later I had my ice cubes and iced tea.


This passion fruit tea has such an intoxicating scent, makes you think it's the middle of June out in the tropics.


This is my magical faux Mason jar mug, drinking out of it makes me feel like I've gone back in time to the good 'ol summertime of the American south in the 1940's and that I've just come back from a country fair. Whenever I drink out of it I just imagine I'm sipping fresh squeezed lemonade through a red and white striped paper straw. And the lemonade is garnished with a sprig of mint. Corny I know.

Enough daydreaming, back to the iced tea....
Eight passion fruit tea bags, 1/8- 1/4 C. sugar, 4 cups boiling water for 4 minutes. Remove tea bags and enjoy.


Oh, and don't forget the ice! (I did mention I was a pescatarian, right?)
Related Posts Plugin for WordPress, Blogger...